Oswego
n00b
This is for removal and replacement of a OE LCA BJ ONLY.
I am not covering the removal of OE components that are in the way of LCA BJ removal and installation.
Tip: Aftermarket BJ's differ in size so if you have a used truck measure the ones on your truck before you purchase/borrow tools.
Tip: You should also purchase the replacement BJ or get the specifications for the one you plan on using so you can insure you have the proper ball joint press adapter.
<<<A front end alignment is highly recommended after you swap ball joints!!!>>>
Tools required:
Common Sense
1/2" Impact ratchet
1/2" Ratchet
Torch
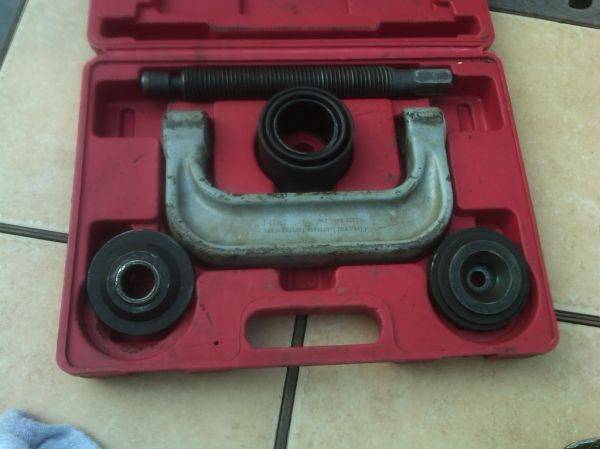
Ball Joint press
7/8" Impact socket (1/2" drive) for above BJ press
<<Specialized Ball Joint adapters>> see the bottom of this post and the installation post for specifications and pictures
Flat head screwdriver
Hammer
Needle nose pliers or similar
Vise Grips
24mm impact socket (1/2" drive)
PB Blaster or similar
Mobil 1 or similar
Wire brush or similar
Gloves
Safety glasses
Fire extinguisher
Welders gloves
Welders mat
Freezer
External/Internal spring clip pliers
It's YOUR responsibility to wear the proper PPE and use common sense. This could prove dangerous if the tools required are used in manners they were not designed or intended for. Do not apply torque to the tools past their recommended limit.
Removal
Note: Lube all threaded bolts, nuts, BJ's, etc. before attempting to loosen or press them out.
Step 1: Remove cotter pin located at the bottom of the BJ. Both of mine were in between the nut. I flattened out the back of the cotter pins, locked a set of vise grips on them, and tapped them from behind with a hammer so the head protruded enough so that I could remove it with pliers. Throw cotter pin away - the new BJ will come with one - these are NOT to be re-used.
Step 2: Remove the BJ nut with a 24mm impact socket. Throw nut away - the new BJ will come with a nut - these are NOT to be re-used.
Step 3:
A; Remove spring clip from BJ with a hammer and flat head screwdriver. This clip may pop off at speed so be careful. Throw spring clip away - the new BJ will have one with it - these are NOT to be re-used.
B; Clean the top of the BJ with a wire brush then spray with PB.
Tip:I performed steps 1-3 and then left the PB to work overnight.
Step 4: Remove steering stop (AKA: Front lower ball joint attachment) by hitting the sides of the LCA and top of the BJ with a hammer. Do NOT hit the steering stop. You could mar or bend it and it WILL be re-used. The steering stop will literally fall to the ground.
Tip: The steering stop is now mobile and can be moved so you can get the path of least resistance to the sides of the LCA with a hammer. The LCA has flat spots on both sides and this is where I struck it. Take care to hit exactly on top and center of the BJ. Do not hit the top of the BJ near the sides. Hitting the sides of the BJ's top could result in the top bending and ultimately grooving the BJ seat during removal.
Tip: A pickle fork can also be utilized to do this task. I chose to use as little "specialty" tools as possible so the typical DIY'er can perform this task with the least amount of money out of pocket. I did not however risk safety in my efforts to be cheap.
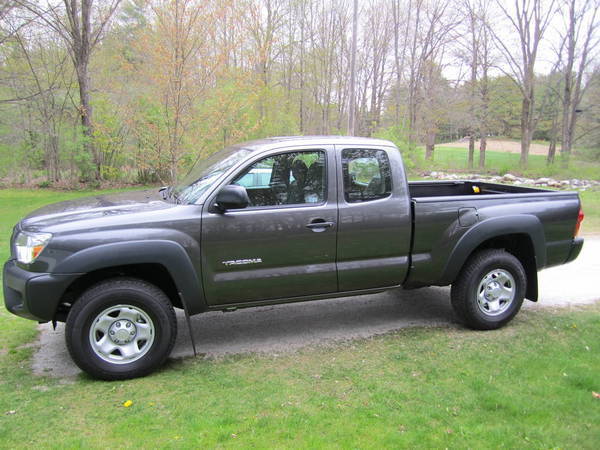
Step 5:
A; Install ball joint press and specialized ball joint adapter.
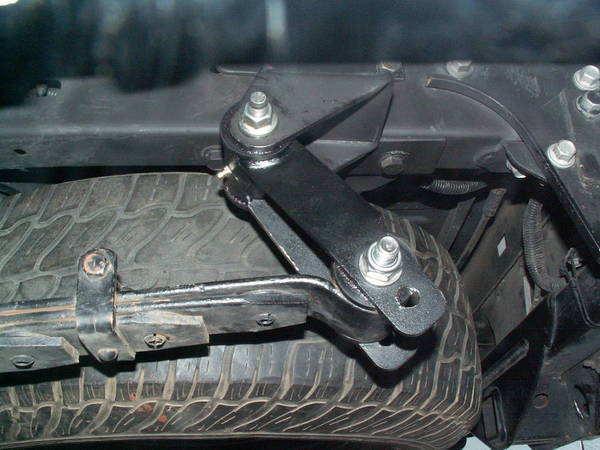
B; Heat the LCA evenly around the BJ.
Tip: Be safe! Depending on what steps and parts you removed to start this project some parts may be in the way of heat or flame. Cover these items with a welders mat.
C; Using the impact wrench torque the ball joint until it sits flush with the top of the LCA (no pictures available - see below for reference).
D; Loosen the press and remove the top plate - Be careful - it is now extremely hot and you need to work fast for this step and "E".
E; Install the press directly on the center of the BJ and torque until it falls out - remember it's HOT!!!

Misc Pictures & Tools I used:
Specialized press adapter
The specifications for the adapter state it is: ID 2-7/16" X OD 2-3/4" X L 2-7/8"
OD
ID
Kit the specialized adapter came in (U.S. General Master Ball Joint Adapter Set).
The kit was purchased from Harbor Freight for $60. OTC supposedly sells the exact adapters required for late model Toyota's. I chose the HF kit so I could work on other vehicles as well.
Tip: If you need to shop around make sure you bring the dimensions of the old and new ball joint with you to insure proper adapter procurement.

OE BJ
OD

New Moog BJ # K80827
OD
Rented BJ press (these can be found at Auto Zone, Pep Boys, etc.). You simply leave a deposit and get the entire deposit refunded once you return the tool in good working order.
Tip: Inspect the tool for cracks or damage before you pay for it or leave.
Misc:


Tons of force

I am not covering the removal of OE components that are in the way of LCA BJ removal and installation.
Tip: Aftermarket BJ's differ in size so if you have a used truck measure the ones on your truck before you purchase/borrow tools.
Tip: You should also purchase the replacement BJ or get the specifications for the one you plan on using so you can insure you have the proper ball joint press adapter.
<<<A front end alignment is highly recommended after you swap ball joints!!!>>>
Tools required:
Common Sense
1/2" Impact ratchet
1/2" Ratchet
Torch
Ball Joint press
7/8" Impact socket (1/2" drive) for above BJ press
<<Specialized Ball Joint adapters>> see the bottom of this post and the installation post for specifications and pictures
Flat head screwdriver
Hammer
Needle nose pliers or similar
Vise Grips
24mm impact socket (1/2" drive)
PB Blaster or similar
Mobil 1 or similar
Wire brush or similar
Gloves
Safety glasses
Fire extinguisher
Welders gloves
Welders mat
Freezer
External/Internal spring clip pliers
It's YOUR responsibility to wear the proper PPE and use common sense. This could prove dangerous if the tools required are used in manners they were not designed or intended for. Do not apply torque to the tools past their recommended limit.
Removal
Note: Lube all threaded bolts, nuts, BJ's, etc. before attempting to loosen or press them out.
Step 1: Remove cotter pin located at the bottom of the BJ. Both of mine were in between the nut. I flattened out the back of the cotter pins, locked a set of vise grips on them, and tapped them from behind with a hammer so the head protruded enough so that I could remove it with pliers. Throw cotter pin away - the new BJ will come with one - these are NOT to be re-used.
Step 2: Remove the BJ nut with a 24mm impact socket. Throw nut away - the new BJ will come with a nut - these are NOT to be re-used.
Step 3:
A; Remove spring clip from BJ with a hammer and flat head screwdriver. This clip may pop off at speed so be careful. Throw spring clip away - the new BJ will have one with it - these are NOT to be re-used.
B; Clean the top of the BJ with a wire brush then spray with PB.
Tip:I performed steps 1-3 and then left the PB to work overnight.
Step 4: Remove steering stop (AKA: Front lower ball joint attachment) by hitting the sides of the LCA and top of the BJ with a hammer. Do NOT hit the steering stop. You could mar or bend it and it WILL be re-used. The steering stop will literally fall to the ground.
Tip: The steering stop is now mobile and can be moved so you can get the path of least resistance to the sides of the LCA with a hammer. The LCA has flat spots on both sides and this is where I struck it. Take care to hit exactly on top and center of the BJ. Do not hit the top of the BJ near the sides. Hitting the sides of the BJ's top could result in the top bending and ultimately grooving the BJ seat during removal.
Tip: A pickle fork can also be utilized to do this task. I chose to use as little "specialty" tools as possible so the typical DIY'er can perform this task with the least amount of money out of pocket. I did not however risk safety in my efforts to be cheap.
Step 5:
A; Install ball joint press and specialized ball joint adapter.
B; Heat the LCA evenly around the BJ.
Tip: Be safe! Depending on what steps and parts you removed to start this project some parts may be in the way of heat or flame. Cover these items with a welders mat.
C; Using the impact wrench torque the ball joint until it sits flush with the top of the LCA (no pictures available - see below for reference).
D; Loosen the press and remove the top plate - Be careful - it is now extremely hot and you need to work fast for this step and "E".
E; Install the press directly on the center of the BJ and torque until it falls out - remember it's HOT!!!
Misc Pictures & Tools I used:
Specialized press adapter
The specifications for the adapter state it is: ID 2-7/16" X OD 2-3/4" X L 2-7/8"
OD
ID
Kit the specialized adapter came in (U.S. General Master Ball Joint Adapter Set).
The kit was purchased from Harbor Freight for $60. OTC supposedly sells the exact adapters required for late model Toyota's. I chose the HF kit so I could work on other vehicles as well.
Tip: If you need to shop around make sure you bring the dimensions of the old and new ball joint with you to insure proper adapter procurement.
OE BJ
OD
New Moog BJ # K80827
OD
Rented BJ press (these can be found at Auto Zone, Pep Boys, etc.). You simply leave a deposit and get the entire deposit refunded once you return the tool in good working order.
Tip: Inspect the tool for cracks or damage before you pay for it or leave.

Misc:
Tons of force
Last edited:


